
Update Your Kitchen Without Spending A Lot
I wanted to update our Kitchen, but didn’t want to spend a ton of money at this point in our lives — we have college tuition on the way! So, I decided to see what I could do with what we had. Our cabinets are off-white, so they are easy to work with to get the current, trending look of an open, airy, white Kitchen. Our countertops are blue formica which I know, formica!!!!! But, I really like the color blue, so, I thought, “I can work with that too.” But, how do I make our Kitchen (below) bigger and more open?
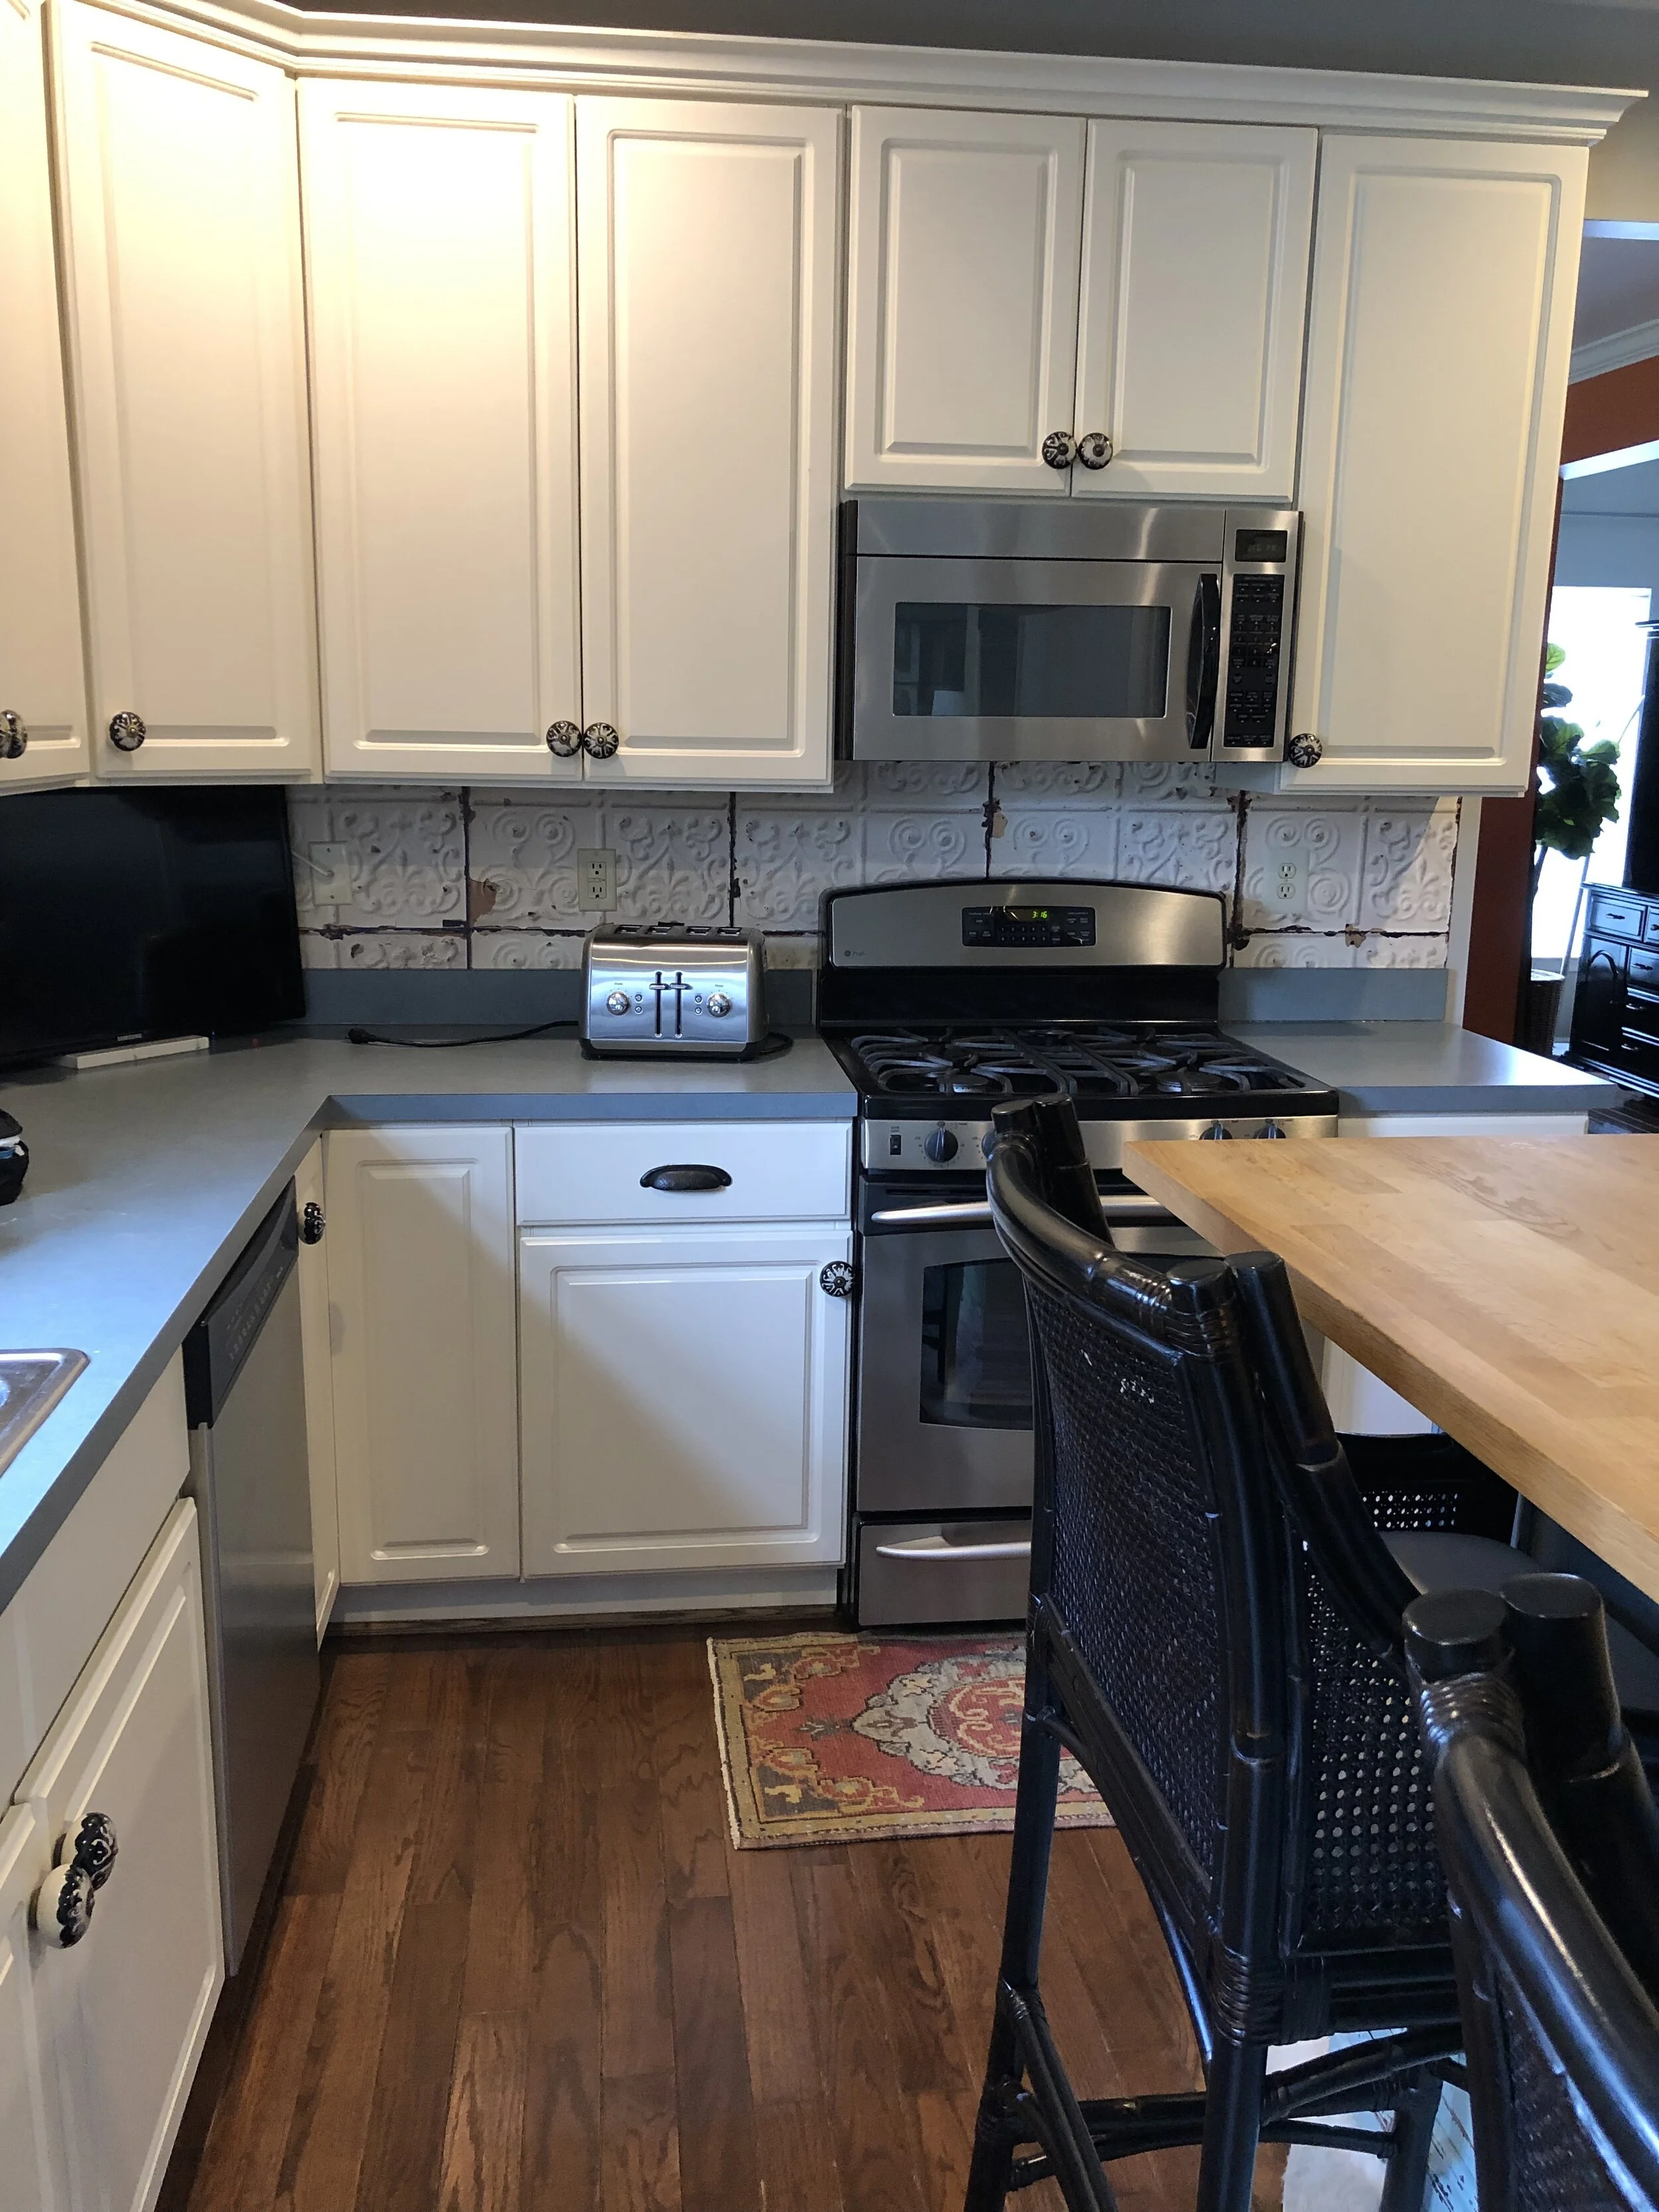
BEFORE
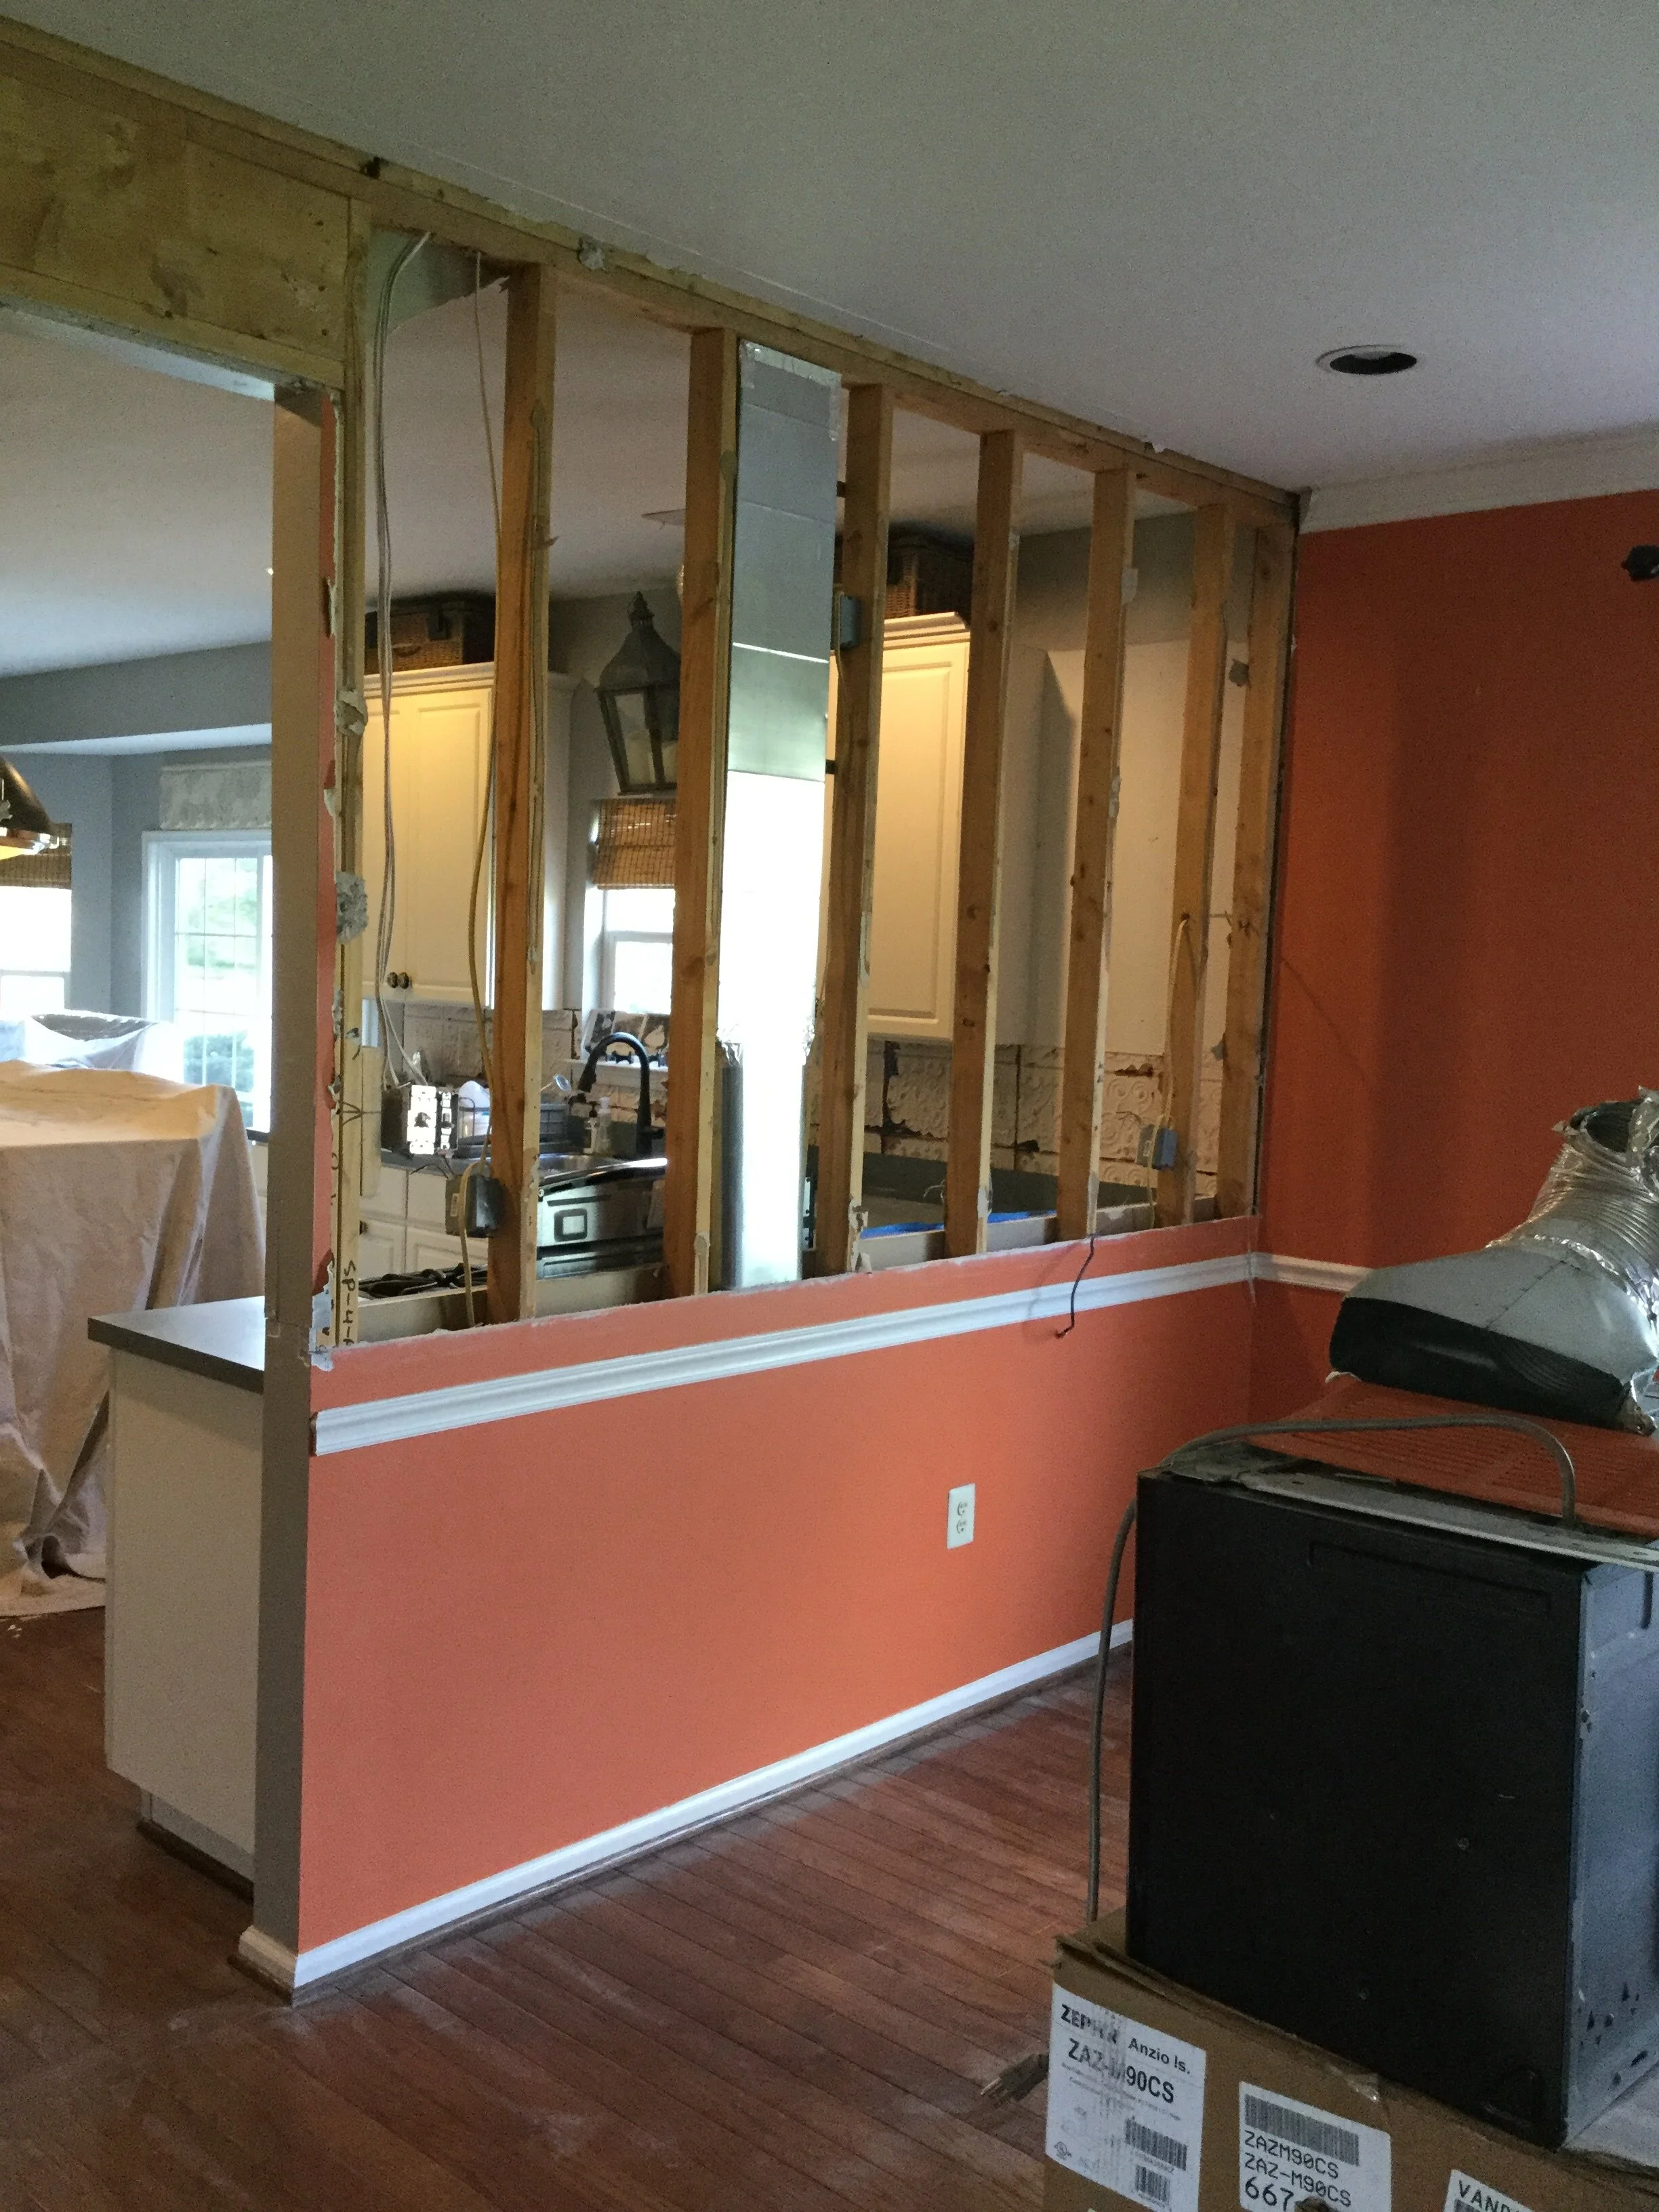
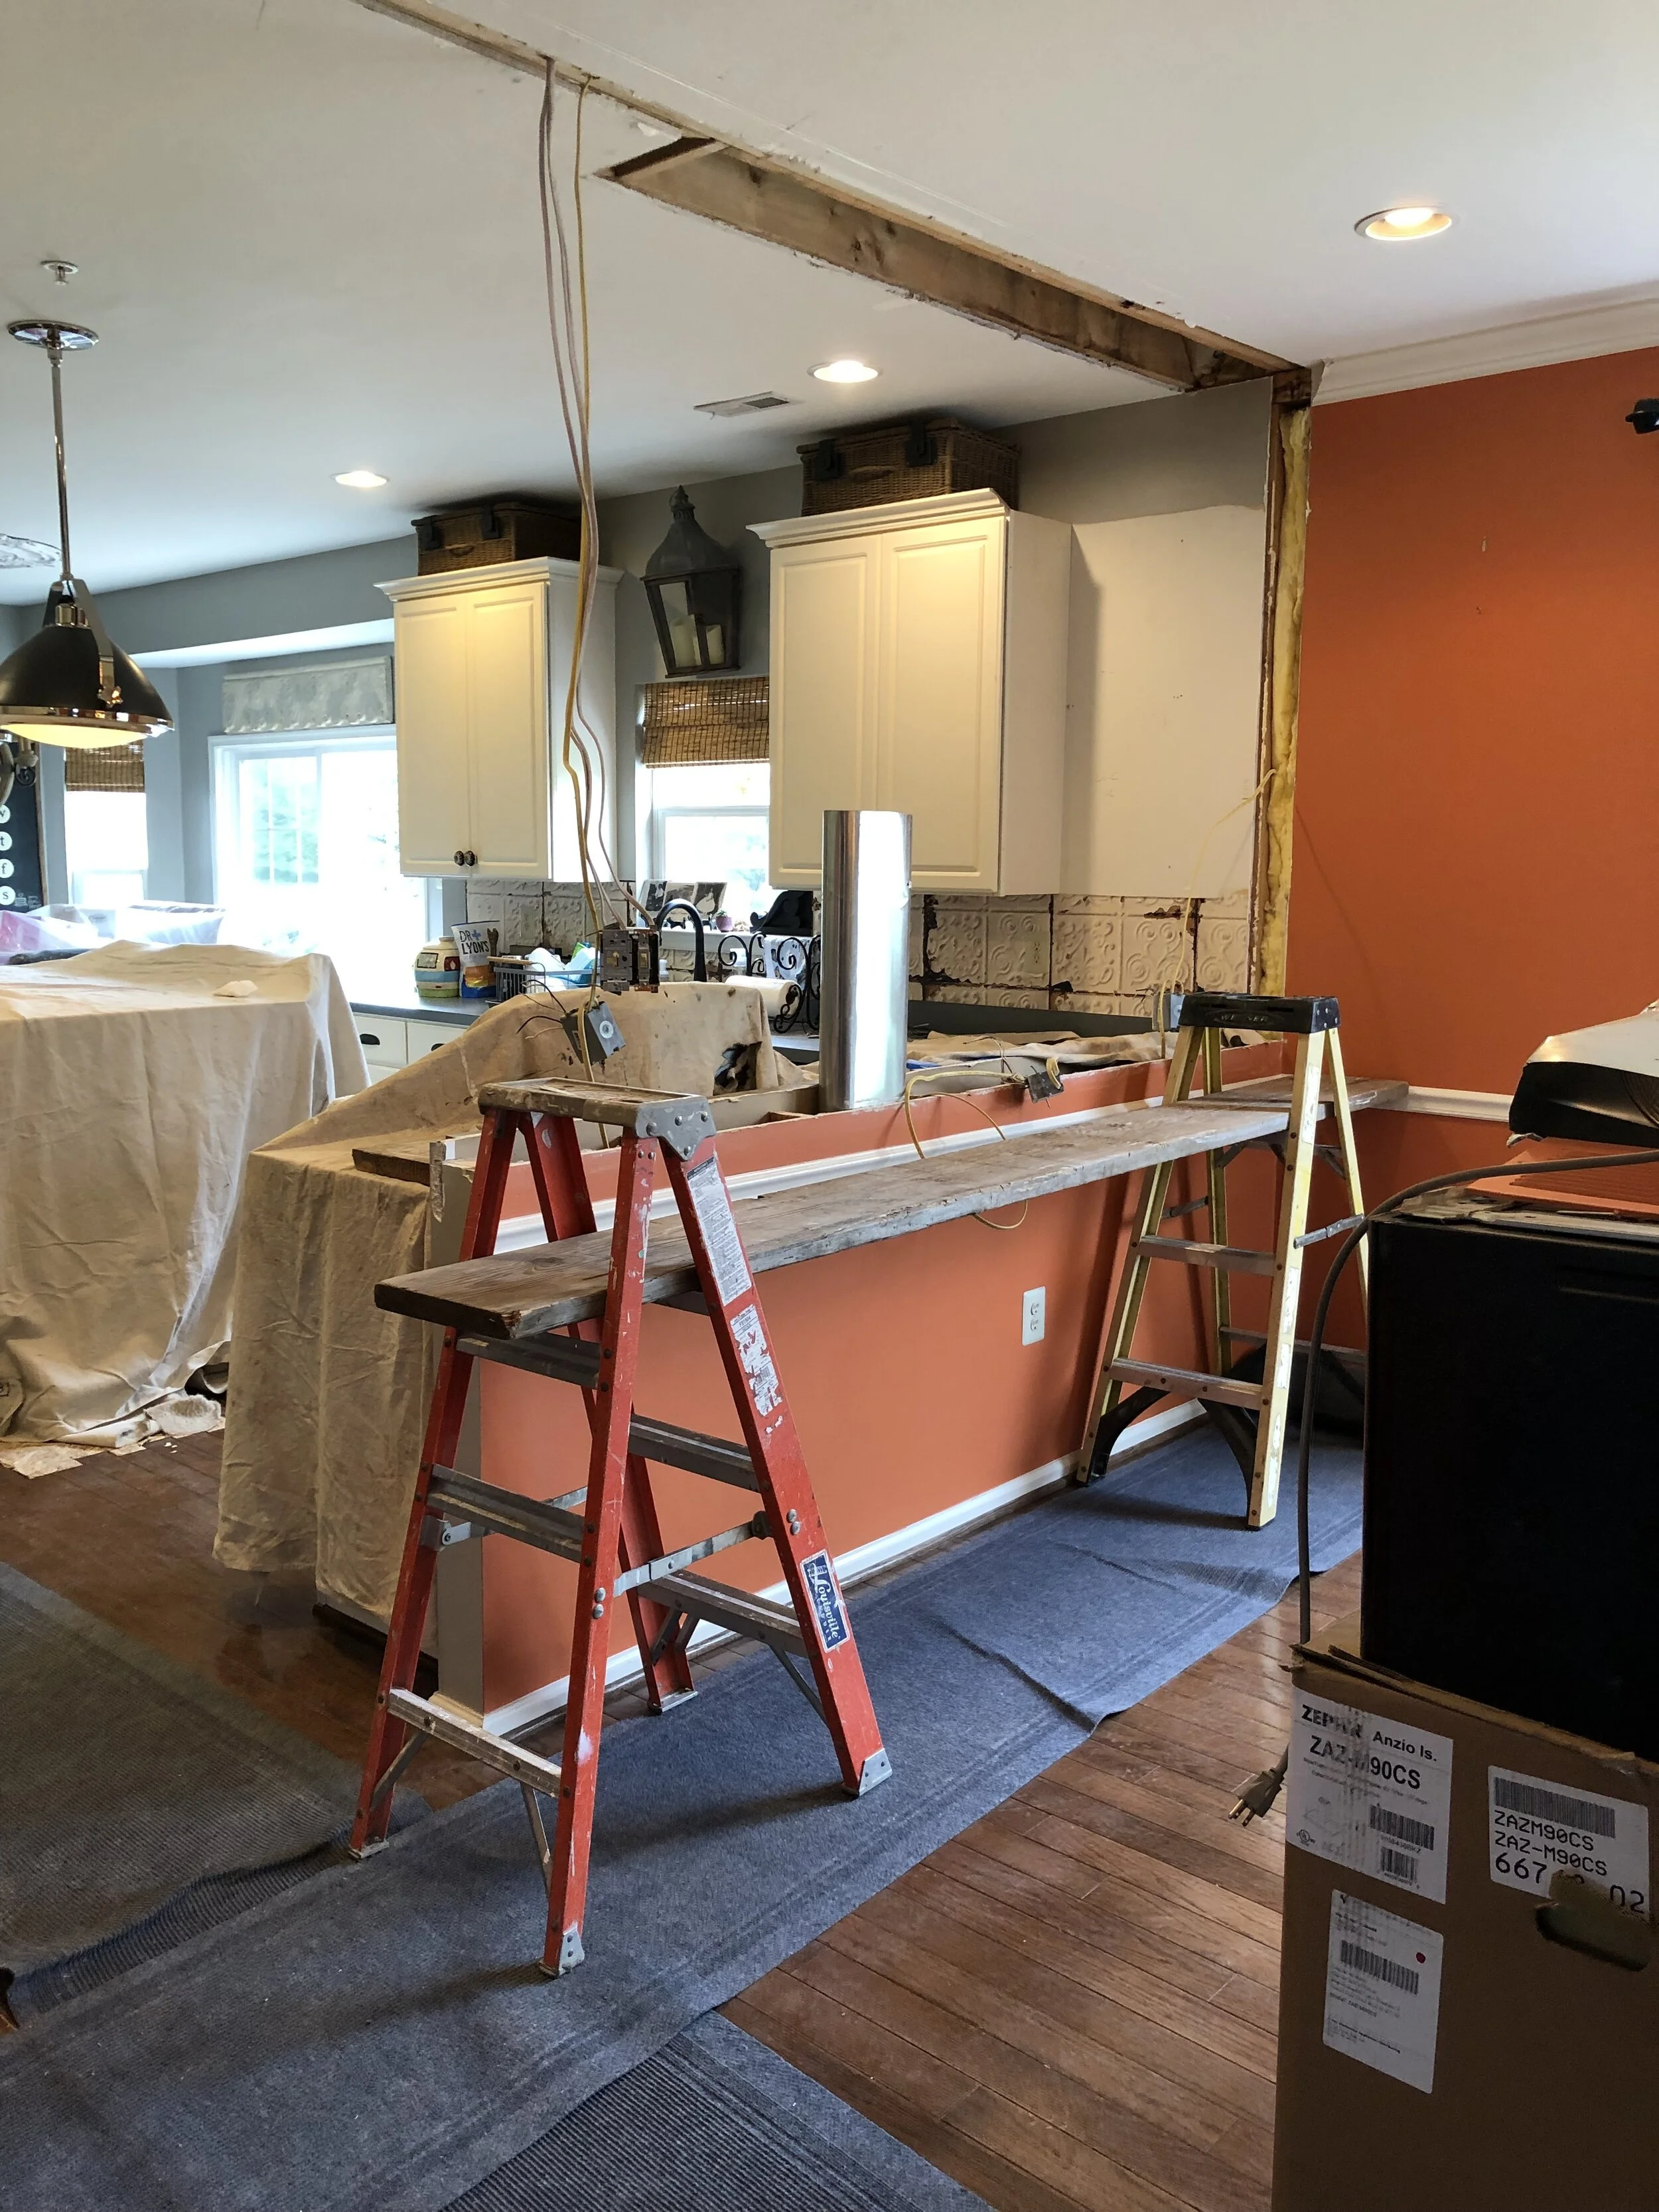
“We could knock down the wall behind the stove into the Dining Room to open up the space!”
Surprisingly, the cost to take down the wall behind the stove to a bar height (42”) was less expensive than I thought: the key reason being that we didn’t have to move electricity. We just moved the electricity down and turned our outlets horizontal to fit under the 42” h wall. Luckily, we didn’t have a ton of venting in this wall either. We only had to move one return vent from the wall to the floor.
As soon as that wall came down, the transformation was instantaneous! The natural light, now pouring into the Kitchen, changed the entire vibe of the space. See for yourself!
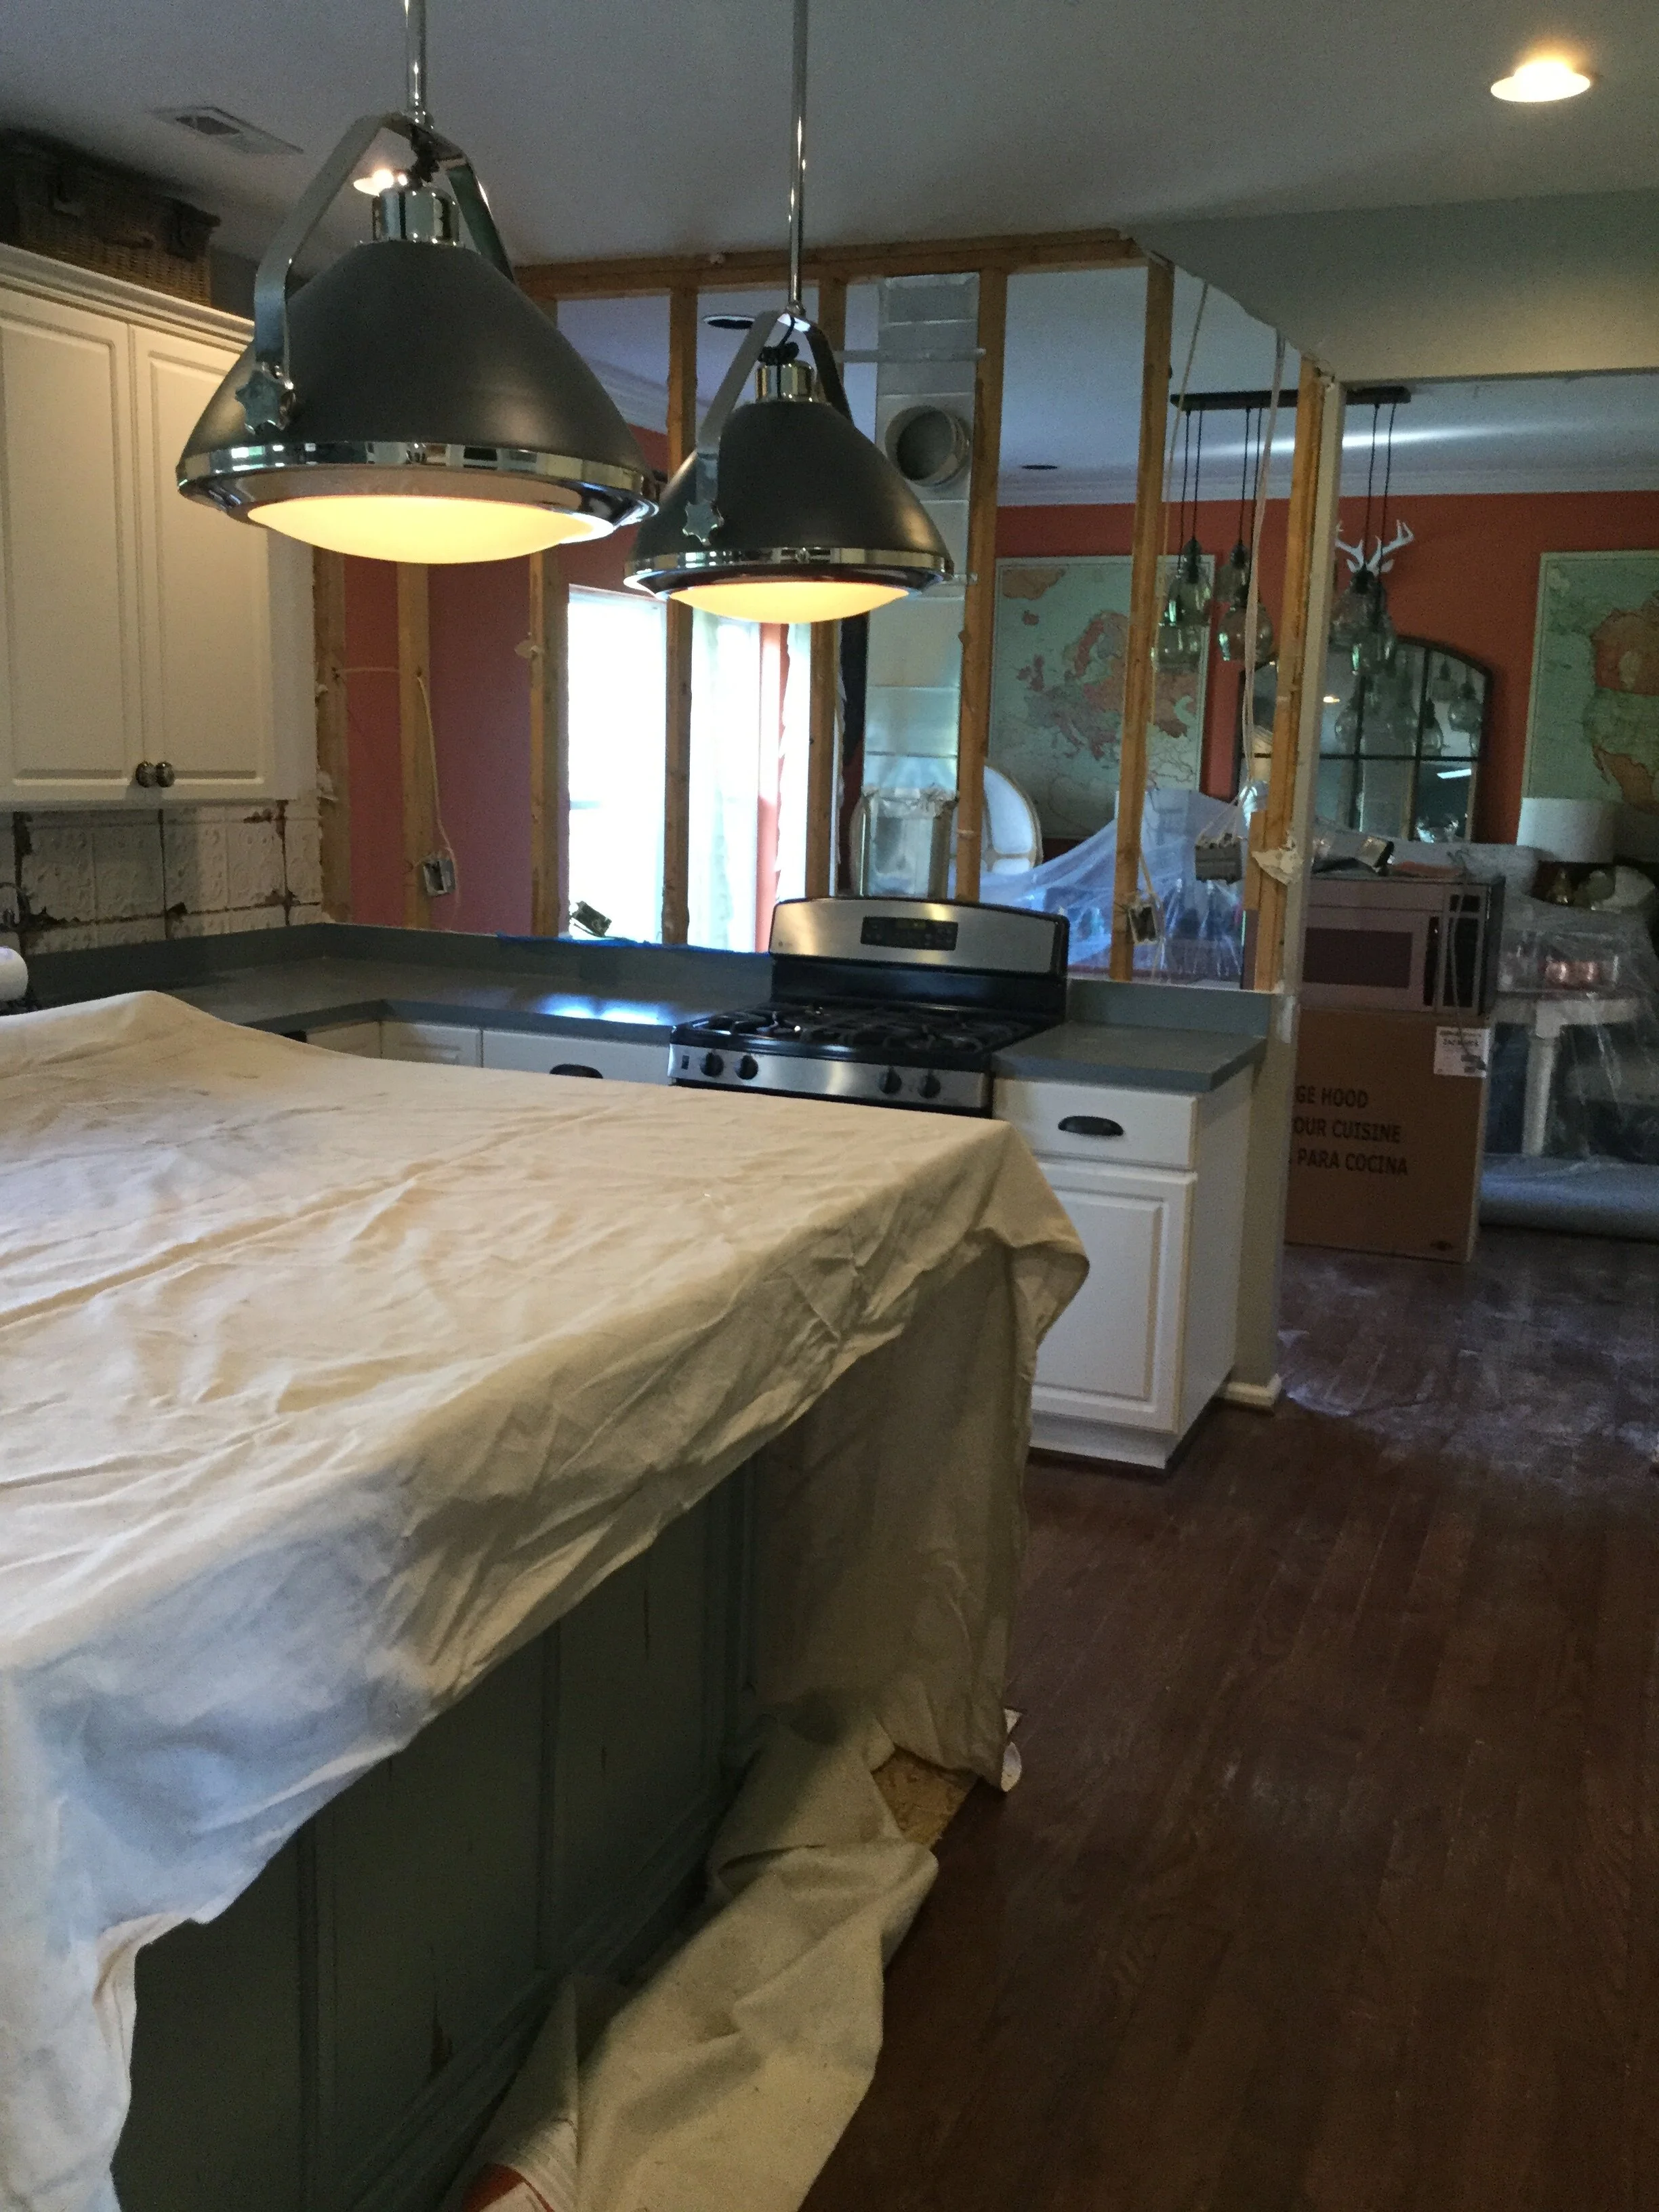
Demo-Day 1
Don’t you agree — so much brighter! The more the wall came down, the better it looked!
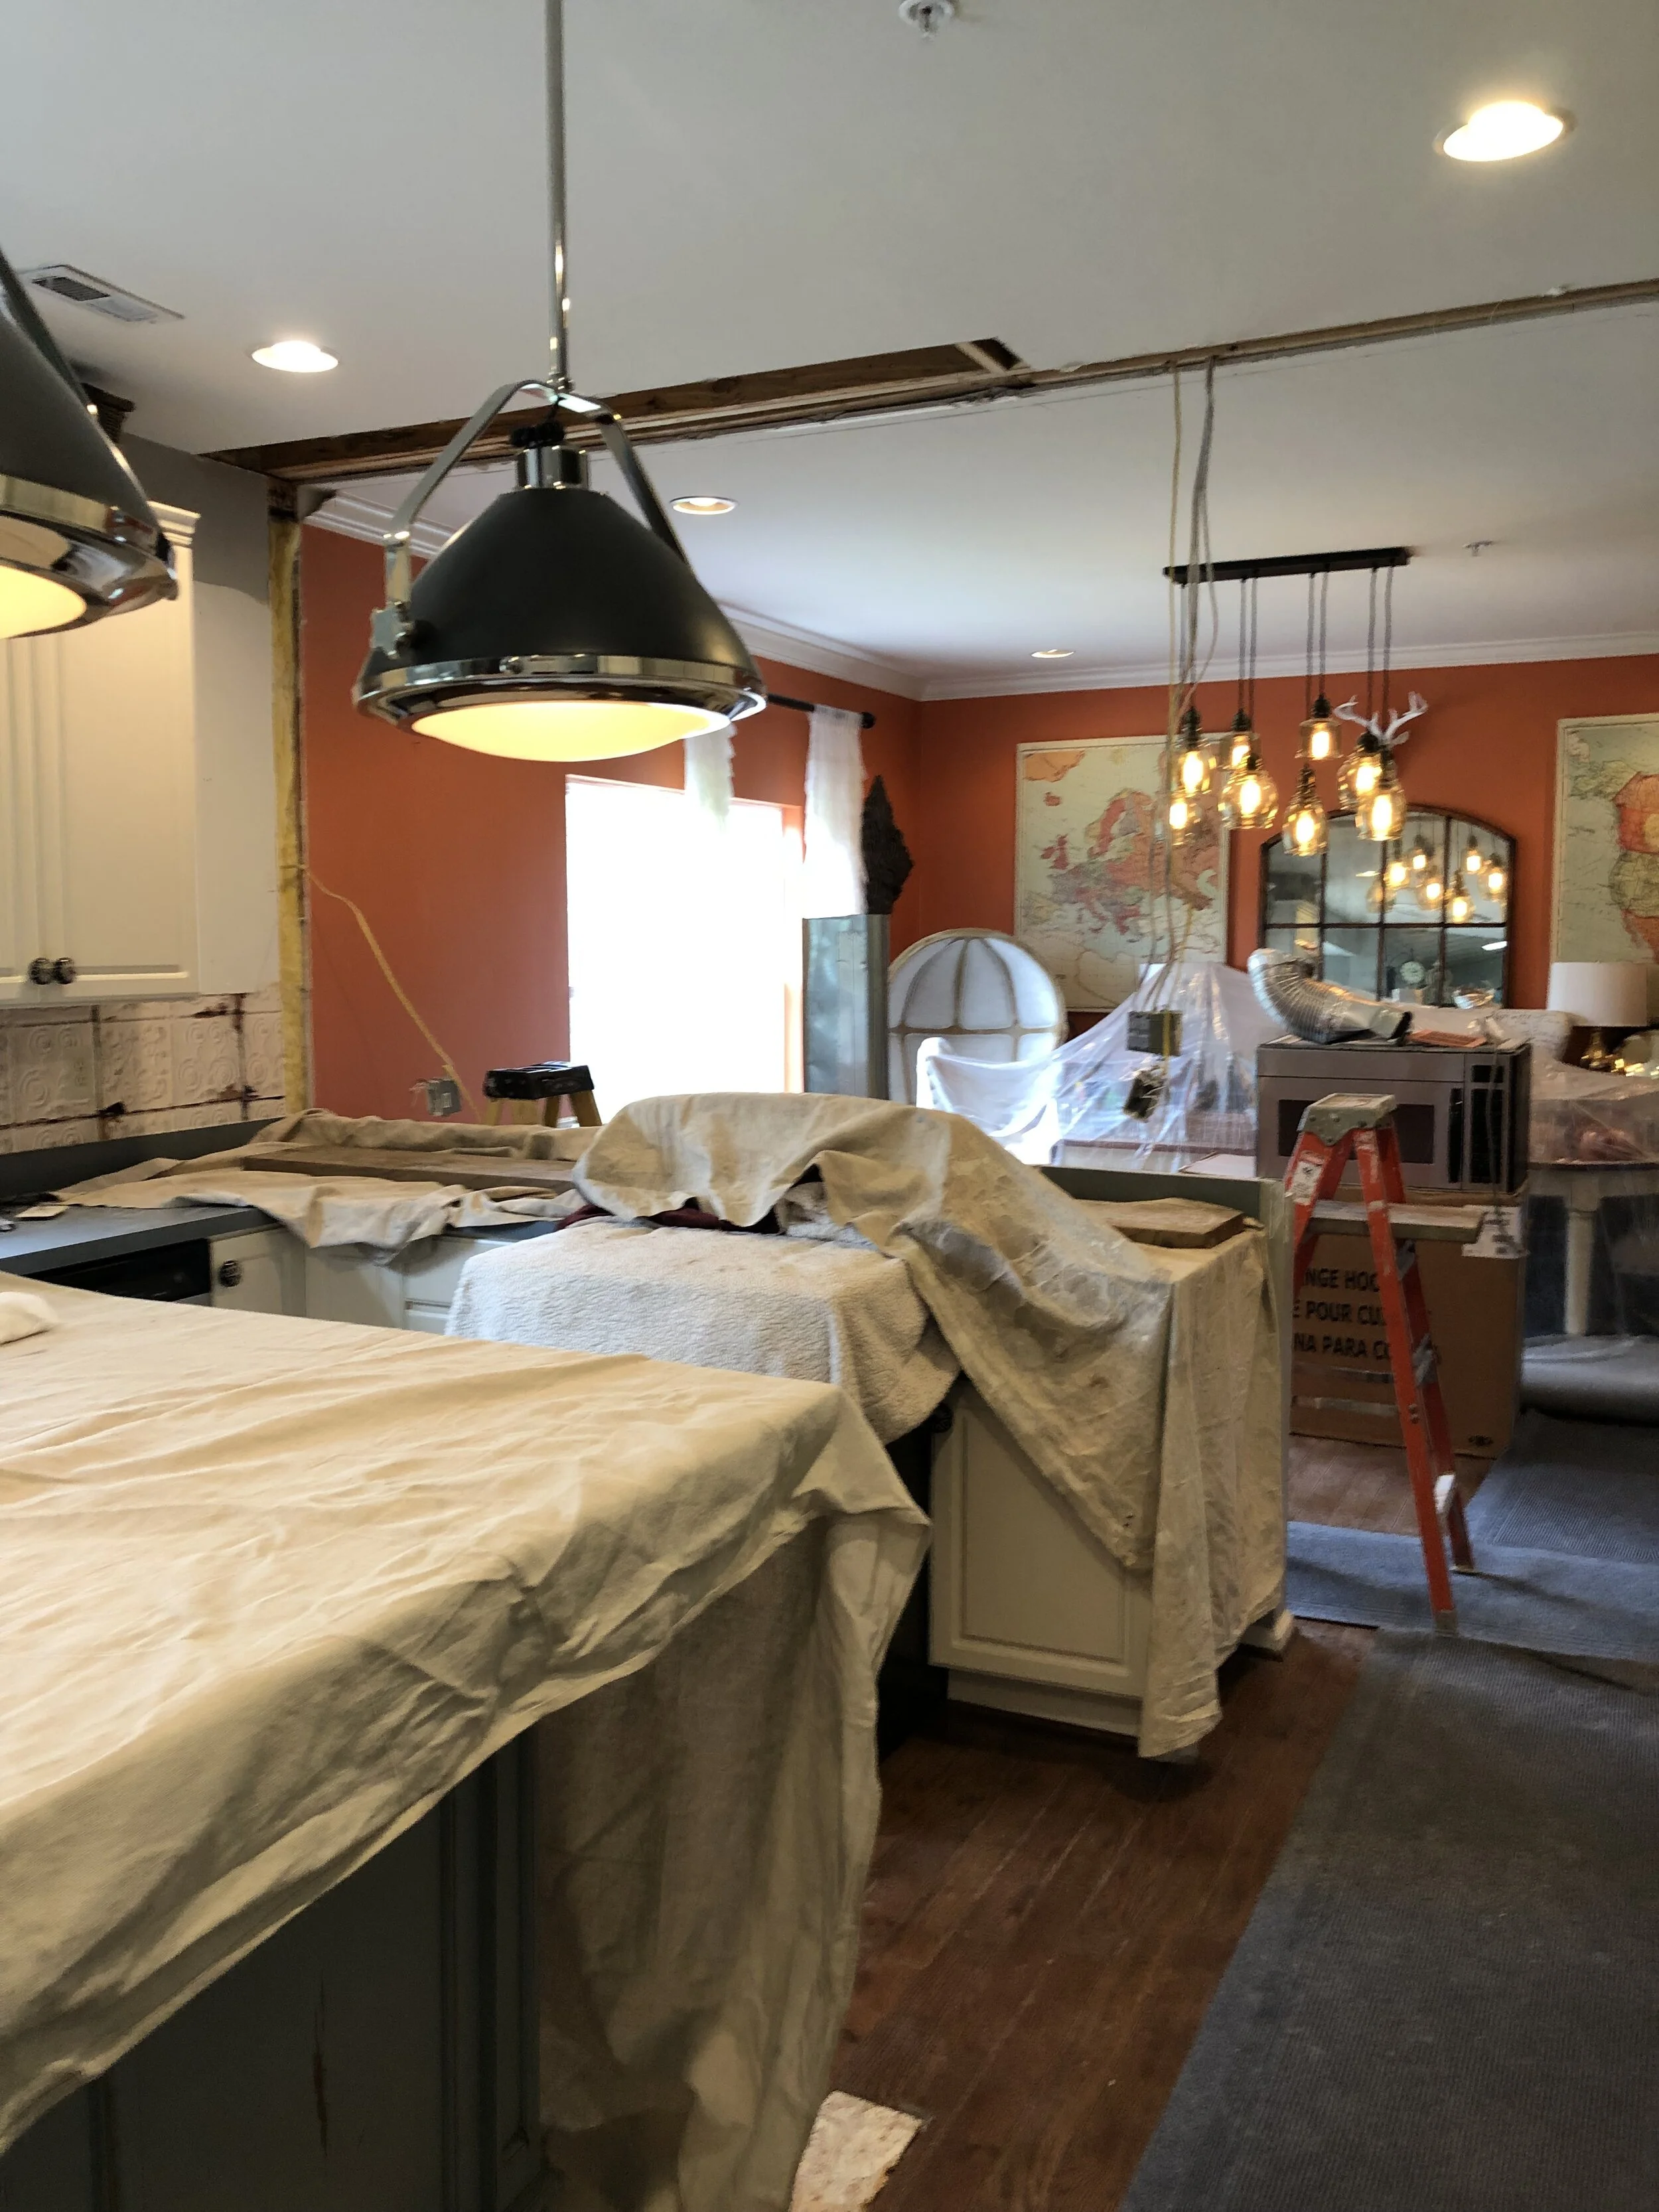
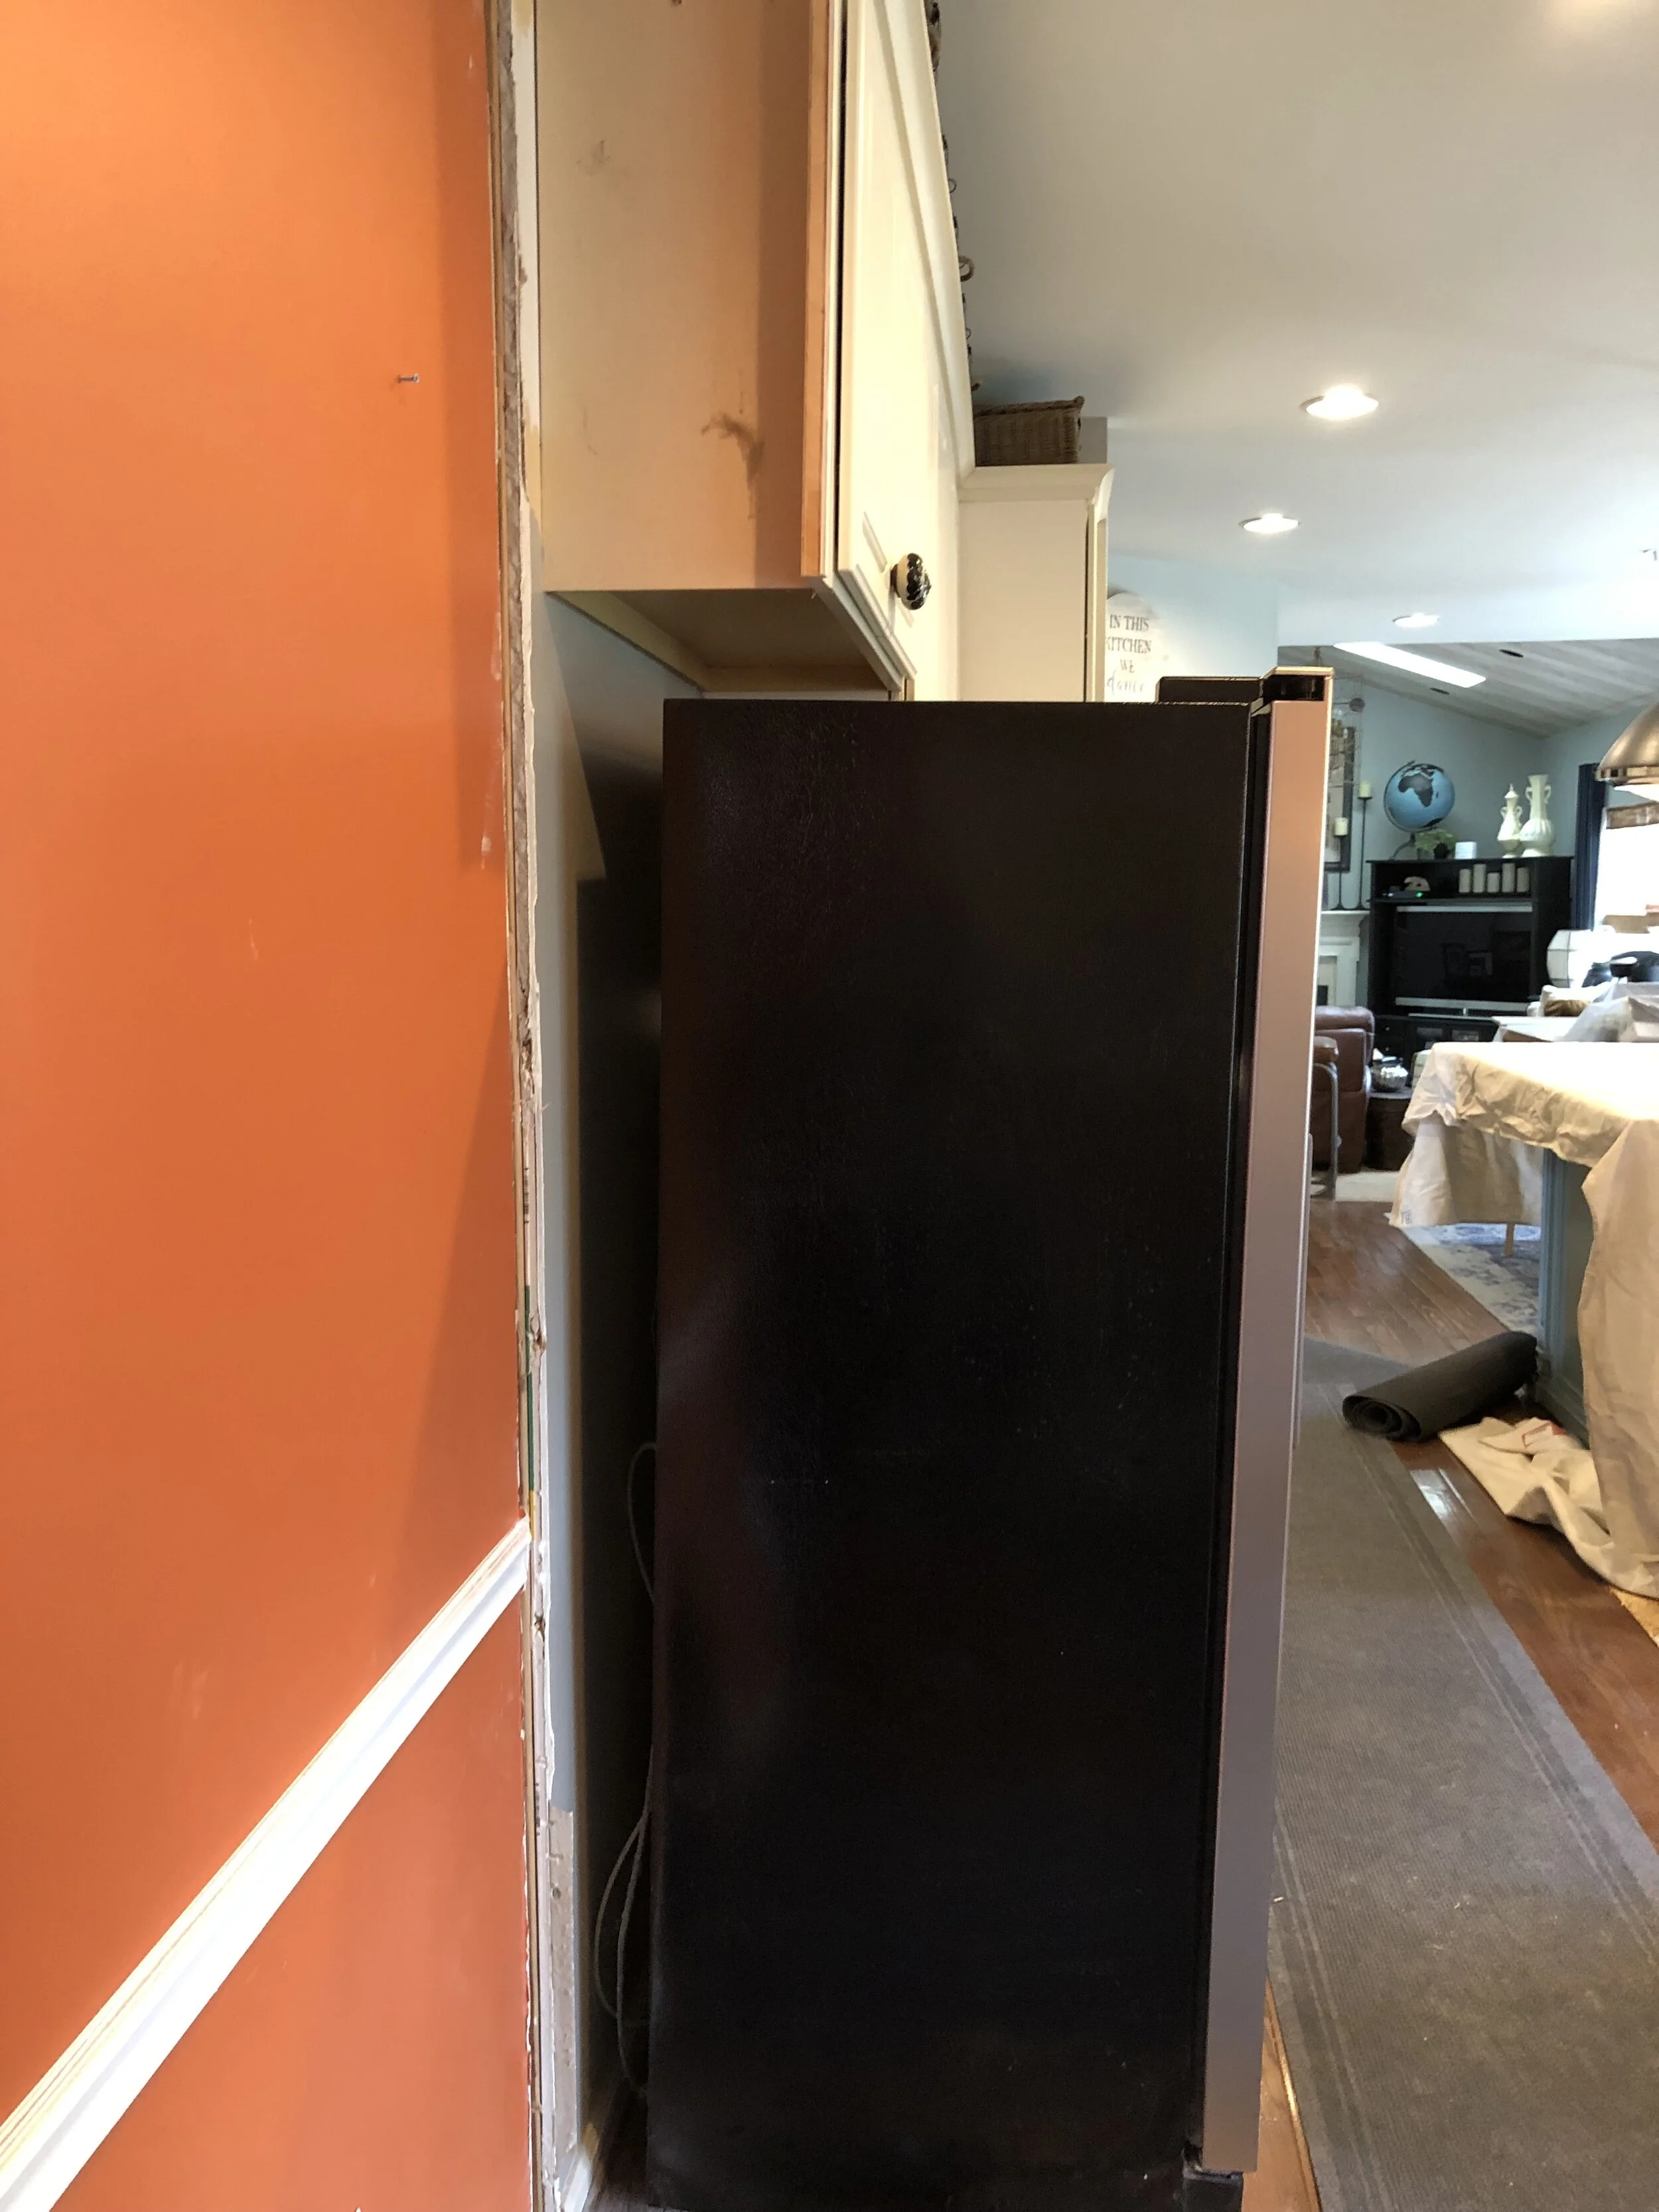
Demo-Day #2
We ran into a few things that I needed to figure out as the project evolved:
We needed to finish off the cabinet sides that had been hidden by the wall. So, I contacted the manufacturer of our cabinets and was able to order pieces to fill in where needed: the crown molding, side cabinet skins and refrigerator panels. All of these were very reasonably priced and easy to install. Note: we were lucky that our cabinets were painted, not stained, and still a stocked color. Stained wood would be harder to match since it may lighten over the years.
We thought our oven range vent that came out of our microwave ran up to the ceiling and over to the outside of the house. However, once we took down the wall, we saw that it was actually vented down to the floor and out of the house. We needed to reroute the vent up to work with the island hood that was going to be installed.
Since we took down three upper cabinets, we wanted to replace those cabinets and actually add storage space. We added two tall cabinets from Restoration Hardware and one open shelf cabinet which gave us more storage overall!
We moved our existing island into the new open space and added a smaller working island with storage drawers from Restoration Hardware in the working Kitchen space. I found some of the Restoration Hardware pieces at the Outlet to keep the costs down!
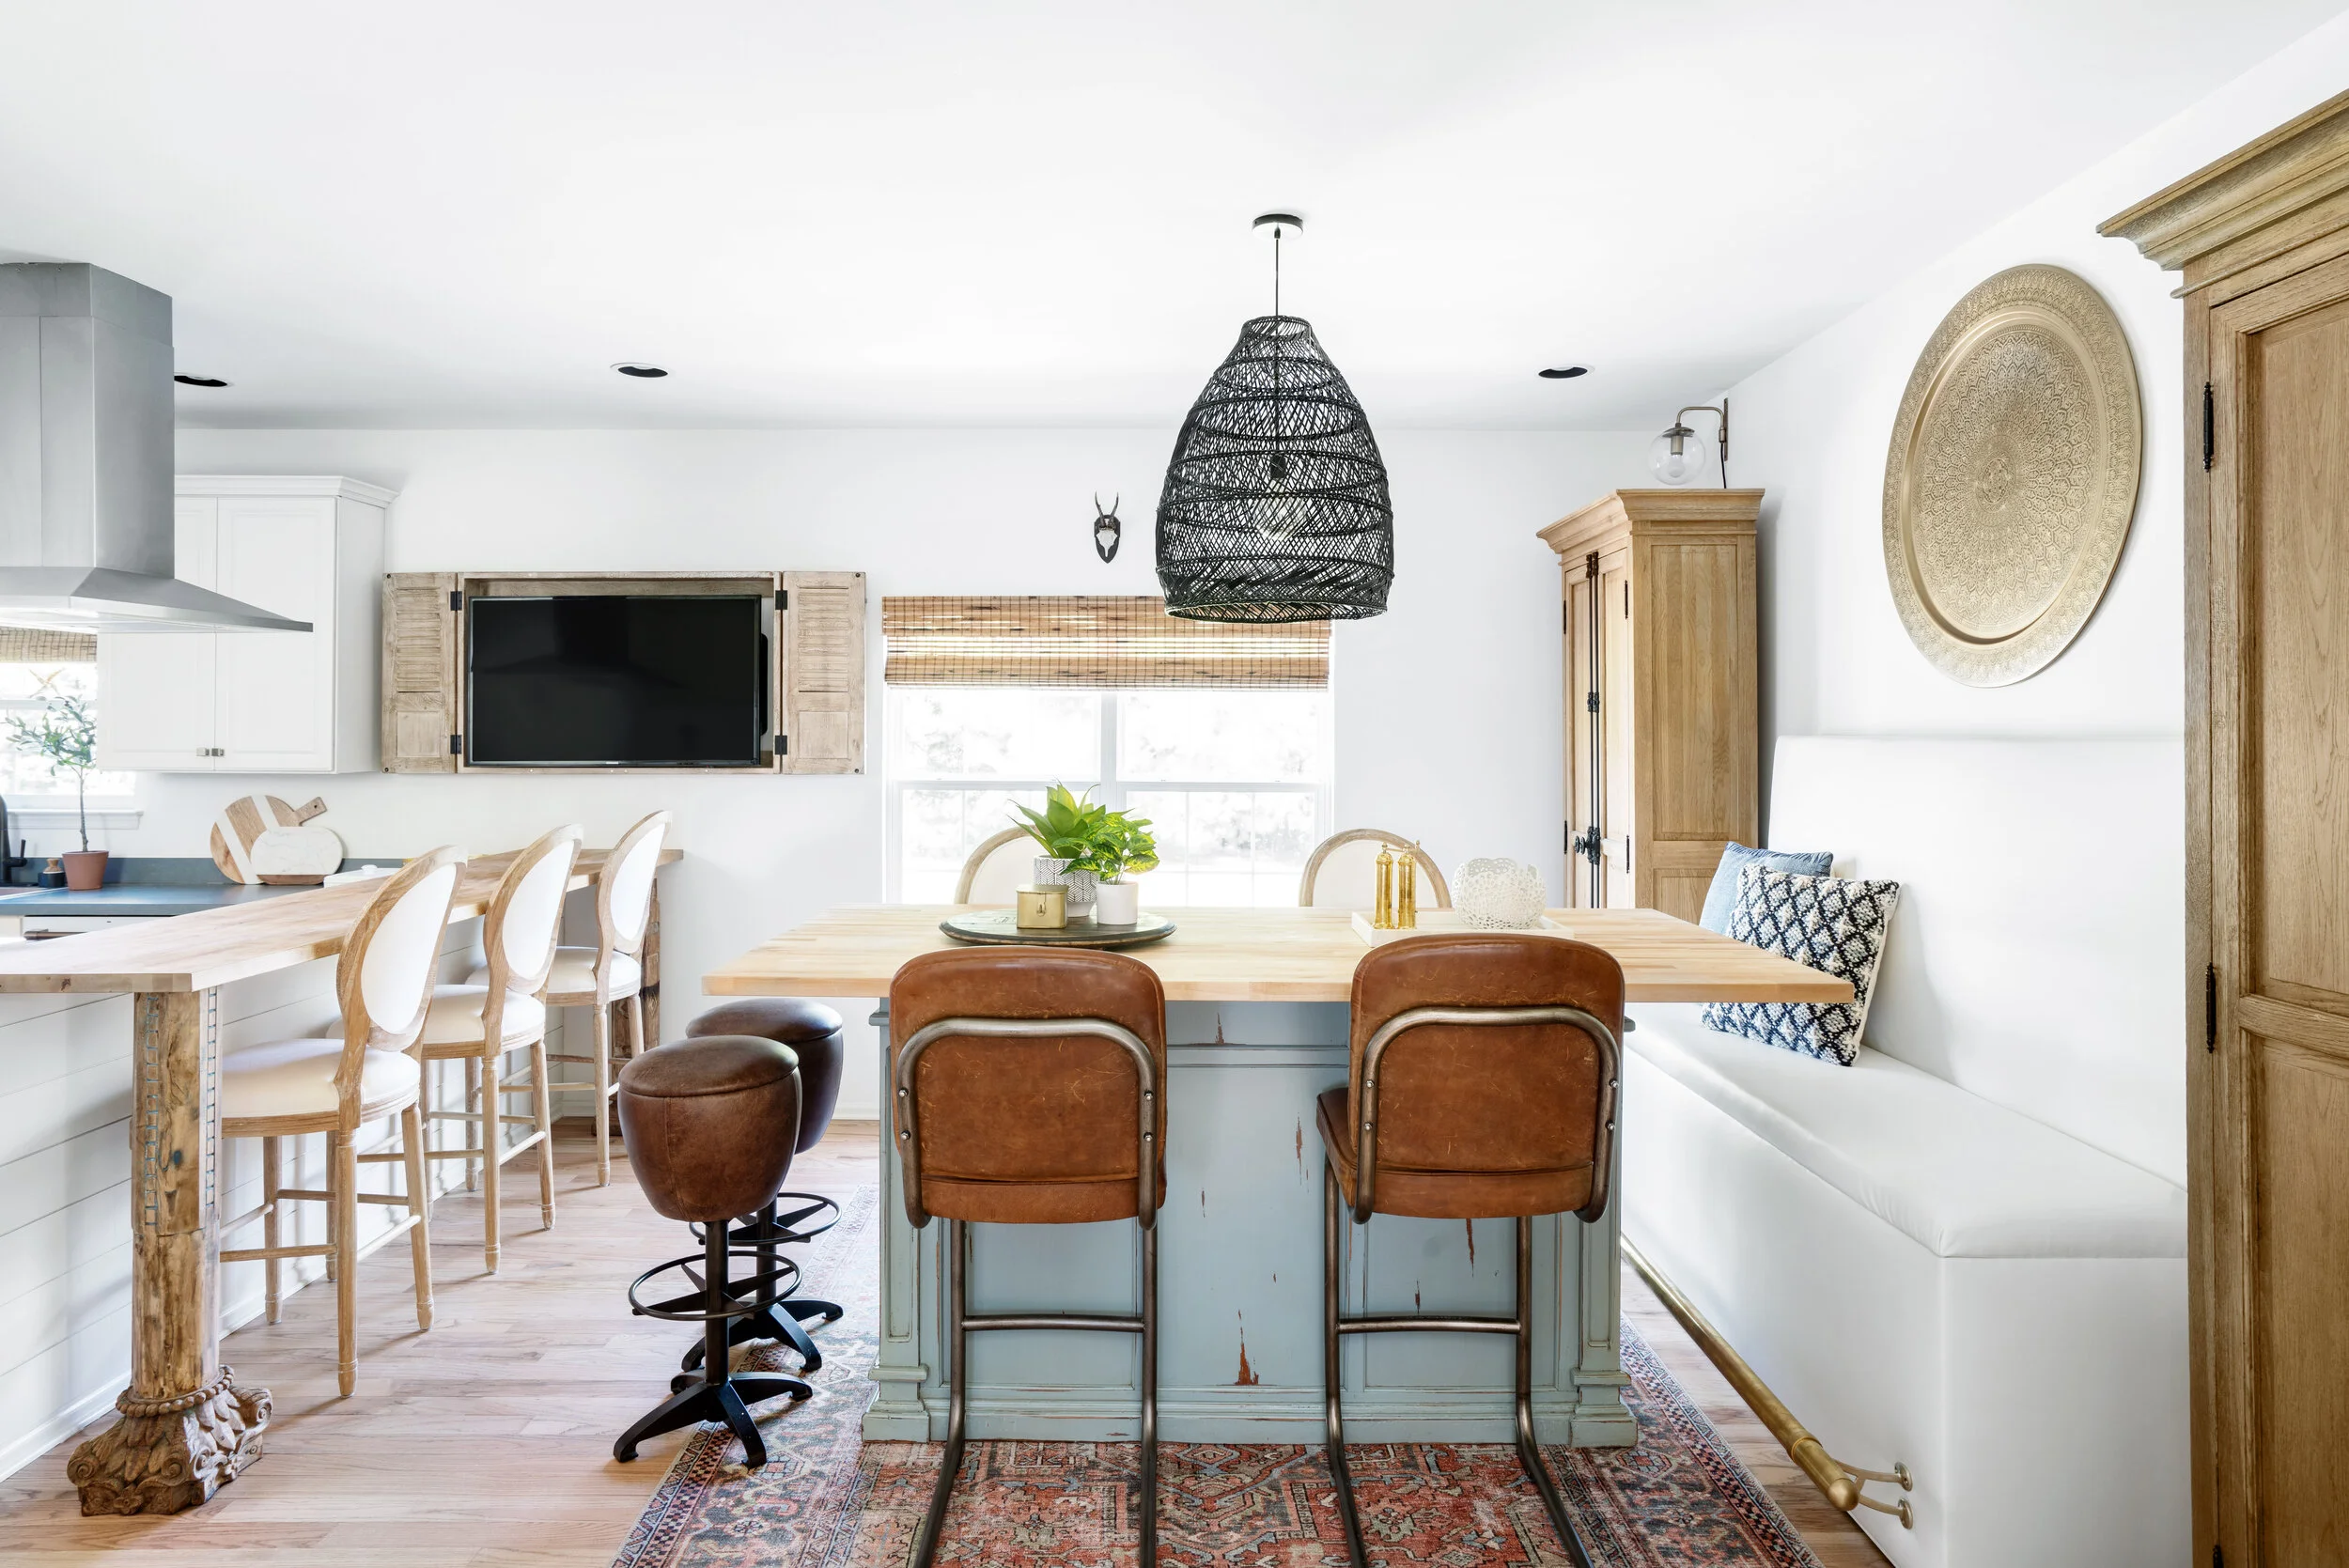
Here is our new budget friendly Kitchen!

AFTER
photography by @jonfriedrich

photography by @jonfriedrich
photography by @jonfriedrich

photography by @jonfriedrich

photography by @jonfriedrich
Our family is thoroughly enjoying our new open concept Kitchen. The work area allows us to be a part of the socializing even when cooking and the extra space allows all to hang in the Kitchen when we entertain (as everyone does anyway!).